Each year our fifth graders learn about the art of painter and architect: Friedrich Hundertwasser. Hundertwasser is a whimsical artist who really is amazingly creative. Some classes were able to learn more about Hundertwasser through the book
Hundertwasser for Kids: Harvesting Dreams. This book gives a playful peak into the mind of the artist!
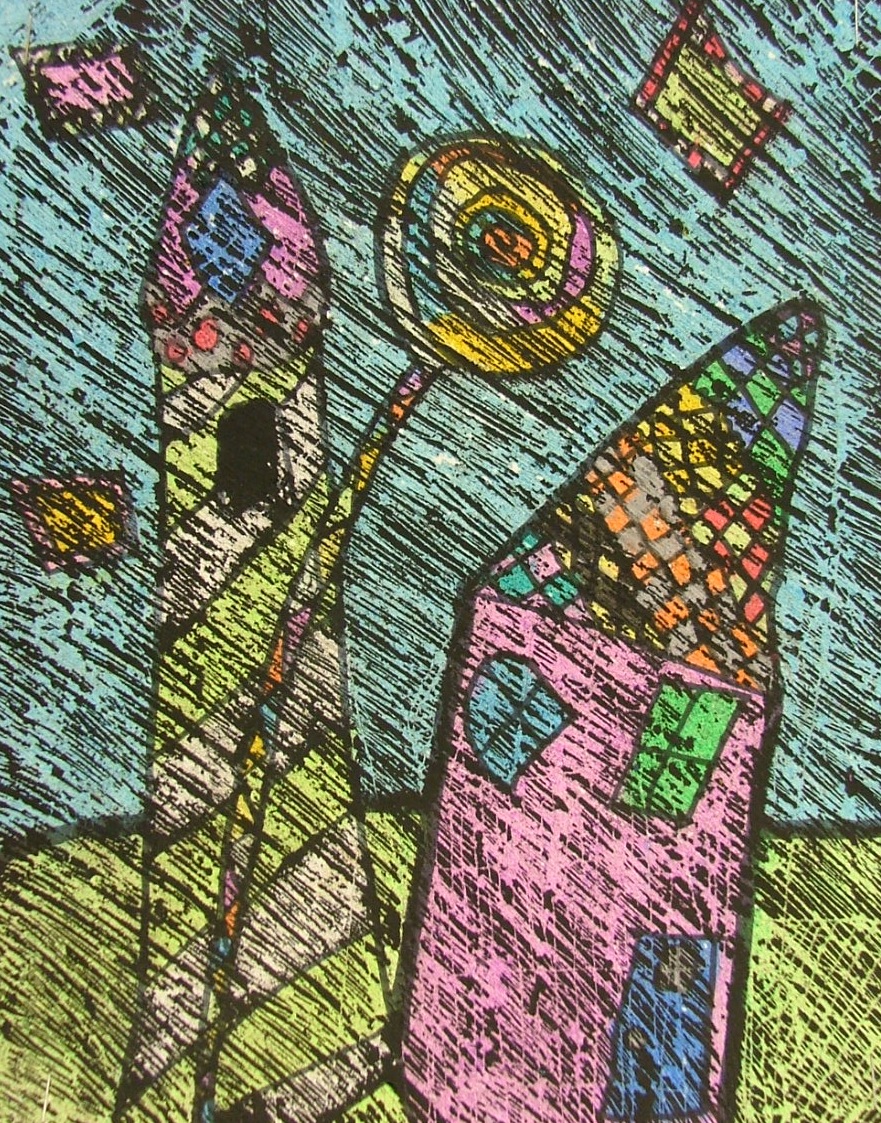
After looking at artwork created by Hundertwasser, we came up with a list of common characteristic: colorful, buildings, faces, and lollypop trees. We used these characteristics to help guide our designs.
Learning Goals: I can...
- Tell about Hundertwasser
- Balance color
- Use etching lines to create texture
- Explain what architecture is


Would you mind sharing the technique your students used to complete this project. I am going to be doing a Hundertwasser unit with my 5th graders and came across this and I am blown away! What medium did they use for the bottom colored layer and what did they use for the top black layer?
ReplyDeleteJeannine McCormick
5th & 6th Grade Art Teacher
Wilson's Creek Intermediate
jjmccormick@spsmail.org
mccormicksartstudio.weebly.com
Sure! Here are the steps:
Delete1. Practice 2 sketches and ok with teacher (I use this to talk about composition (filling the space), shape simplification, and maybe talk about some ideas from each sketch that would be worth combining into the final drawing).
2. Pencil on thick paper/ tag (8x11)
3. OK with teacher (again I check to make sure they didn't make the picture over complicated or too detailed).
4. Sharpie over pencil with thick sharpie (fine point can be used but should be mostly avoided).
5. Color with oil pastels (students must push hard and leave absolutely no white paper showing through! If the shape is supposed to be white then it needs to be colored white with oil pastel).
6. Paint with black acrylic paint.
7. Allow to dry completely.
8. Scratch lines into the black paint (we used scratch art sticks that have a sharp metal point... a paper clip could work just test it). Lines must be close together. Lines should not be scribbly but instead show students how to pick a direction for different sections of the picture.
8. Staple to 9x12 colored construction paper to frame the art!
Warning: As with any project, try this project with your products before teaching it. Different brands of oil pastels/ acrylic paint could have different results.
Thank you so much for the information! I know my students are going to love this project.
Delete