
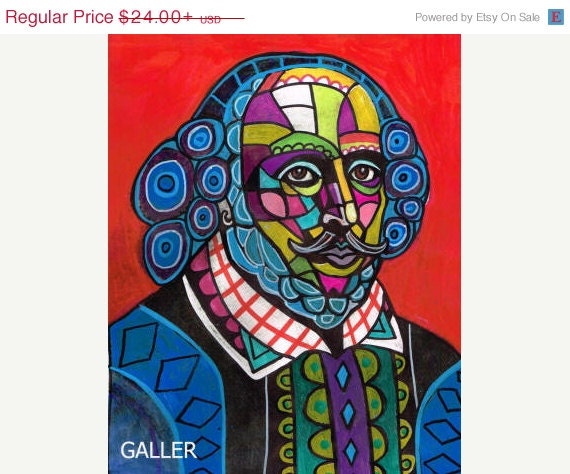
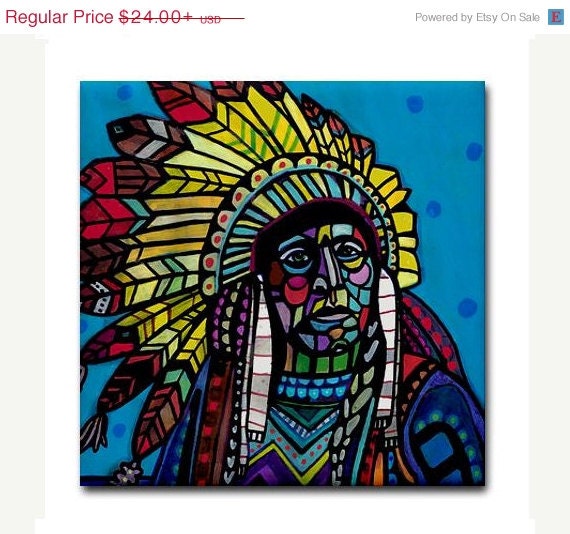
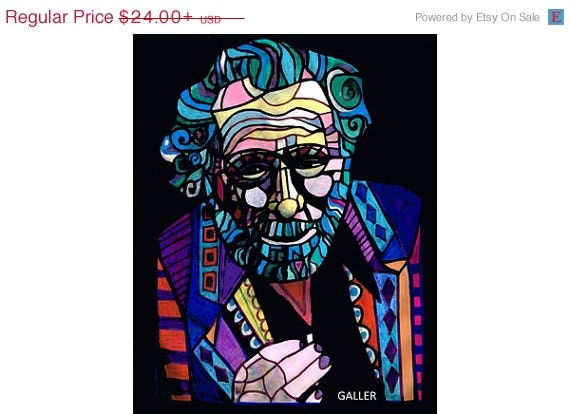
We learned about Etsy, a website were artists can sell their artwork and keep a better percentage of the profits than selling some of the same art in an art gallery. Buying art on Etsy is a great way to support artists directly. Here is Heather Galler's popular Etsy page! We talked about the characteristics and subject matter that Galler uses.
Here is some of her art:

In order to create our own Galler style self-portraits, we first traced the outlines of our facial features onto a photograph with colored pencil. We talked about more realistic ways to draw facial features.
Next, we sharpied the outlines onto a plastic transparency. Finally, students were encouraged to color their artwork in the style of Galler including many colors and shapes. Students used a color scheme of warm colors and cool colors. In order to create contrast, students planned were to put groups of warm or cool colors. Enjoy!


- Explain what Etsy is
- Tell about Heather Galler's artwork
- Create a self-portrait in the style of Heather Galler
- Explain what a self-portrait is
Wow! Those look great! Great idea.
ReplyDeleteCool! I've been following you on pinterest before I even knew who you were! Small world sometimes!! Love the paper frames too! Where did you find them?
ReplyDeleteCool! It was awesome to see your name! The frame paper is from school specialty! I'm not sure how long ago it was ordered though.
DeleteDid they color directly on the transparency and then mount on white paper?
ReplyDeleteWe traced outlines on a printed photograph using colored pencil. Then the transparency was taped on top (hinged). The outlines were traced onto the transparency with a black sharpie. Then we flipped the transparency over and colored on the back with colored sharpies. If mistakes were made I used a tissue and white board cleaner to wipe them off. Doing black outlines on the opposite side helped when erasing and prevented smudging of the outlines while coloring.
DeleteHere is further clarification on steps...
ReplyDelete1. Print pictures on paper (black and white is great)
2. On the paper photo trace the outlines of the face, hair and facial features (I used colored pencil for this so that students could see their lines and yet still edit them if they needed to... there is plenty of confusion about how to do the nose etc. To cut down on this kind of confusion I sketched out "dos and don'ts" of drawing facial features on another sheet of paper).
3. Lay a plastic transparency over the paper photo
4. Trace the colored pencil outlines onto the transparency with thick black sharpie
5. Color on the back of the transparency with permanent markers!
6. Staple onto background paper (I used frame paper from School Specialty)
I like this idea a lot! How long did it take you to do the whole project?
ReplyDeleteIt has been a while so I can't remember for sure but I would say 4 or 5 class periods.
DeleteDo you have an idea on where to get the plastic sheets? is there a certain weight you used?
ReplyDeleteSchool Specialty has "transparency film" sheets to "write on." Office supply stores would be likely to have it too :)
DeleteAwesome project! Could you explain what you included on your "dos and don'ts" of drawing facial features sheet?
ReplyDeleteBasically, we practice drawing the facial features the way a cartoonist might (a circle or a football for an eye) and then I have them practice drawing it with a more realistic irregular shape (modified football). After we have practiced what to look for, the kids trace the shape that is really there and not the one they imagine to be there.
Delete