Showing posts with label 3D. Show all posts

Tuesday, April 28, 2015

O'Keeffe Skulls


Fifth grade students study Georgia O'Keeffe each year.  She became a famous American artist during a time when only men were supposed to be artists. She is known for her large flower paintings and paintings of skulls.  She regularly zoomed in on her subjects which often made her artwork look abstract. Here are some examples of her artwork:


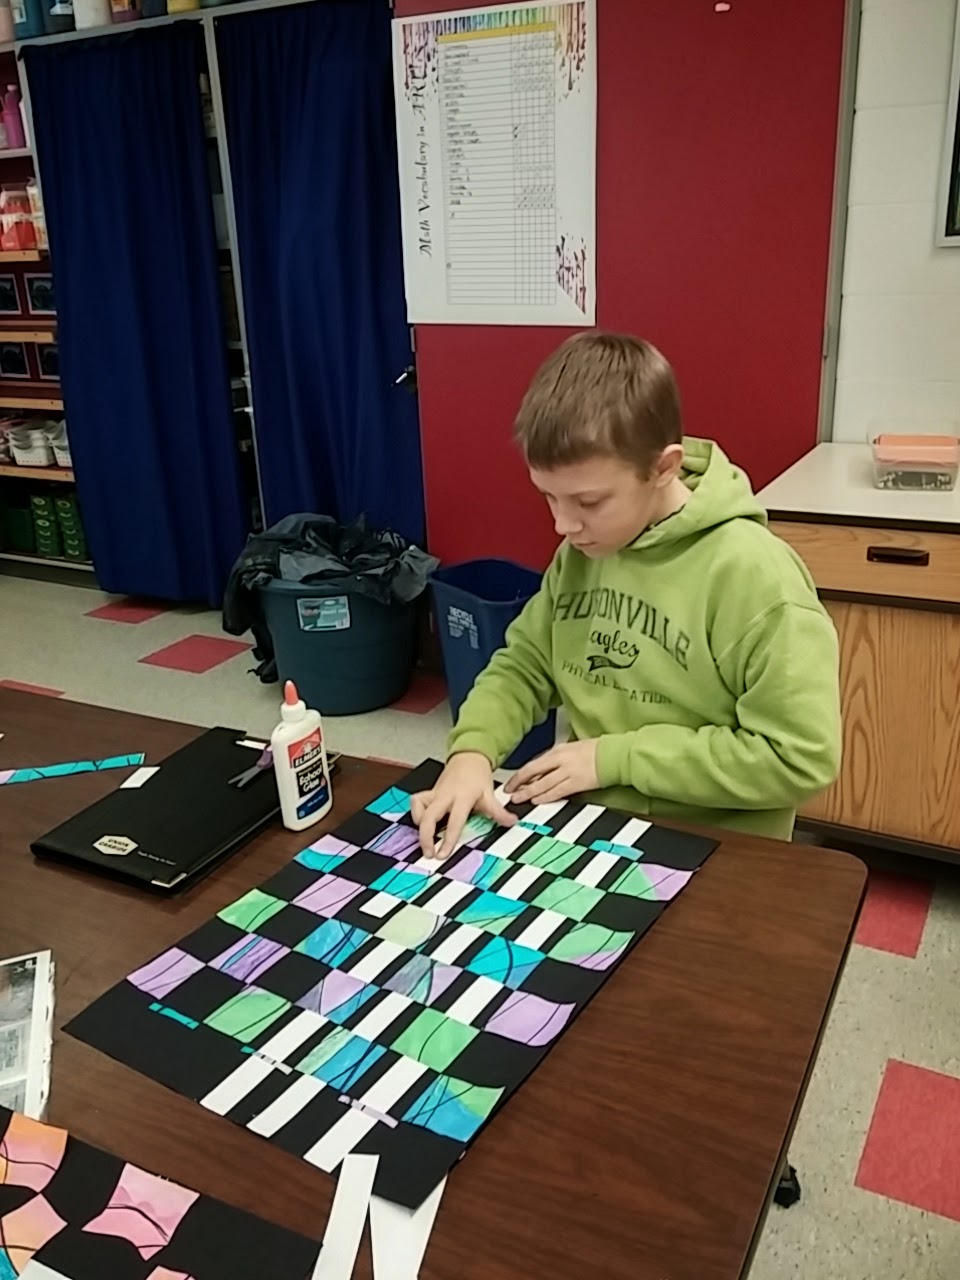
We began this project by drawing a skull and talking about how to use value and a shading technique to create the illusion of form (3D).  After making our skulls look 3D we created a special painting for weaving.  This was an abstract non-objective painting.  We talked about the difference between realistic (like a photograph) abstract (less like a photograph) and non-objective art (only lines, shapes and colors, no objects).  We created these abstract non-objective paintings to use later for weaving:


Next we talked about Navajo Native American artwork since O'Keeffe would have been exposed to it when she lived out west.  One of the art forms that the Navajo are known for is weaving.  We used our abstract paintings to create weavings.


We used the weavings as the background for our O'Keeffe skulls!


Learning Goals: I can...
- Tell about Georgia O'Keeffe
- Tell about Navajo artwork
- Create abstract non-objective art
- Create the illusion of form using a shading technique
- Demonstrate the use of pattern by weaving 


Tuesday, November 18, 2014

Interior Design Dream Rooms


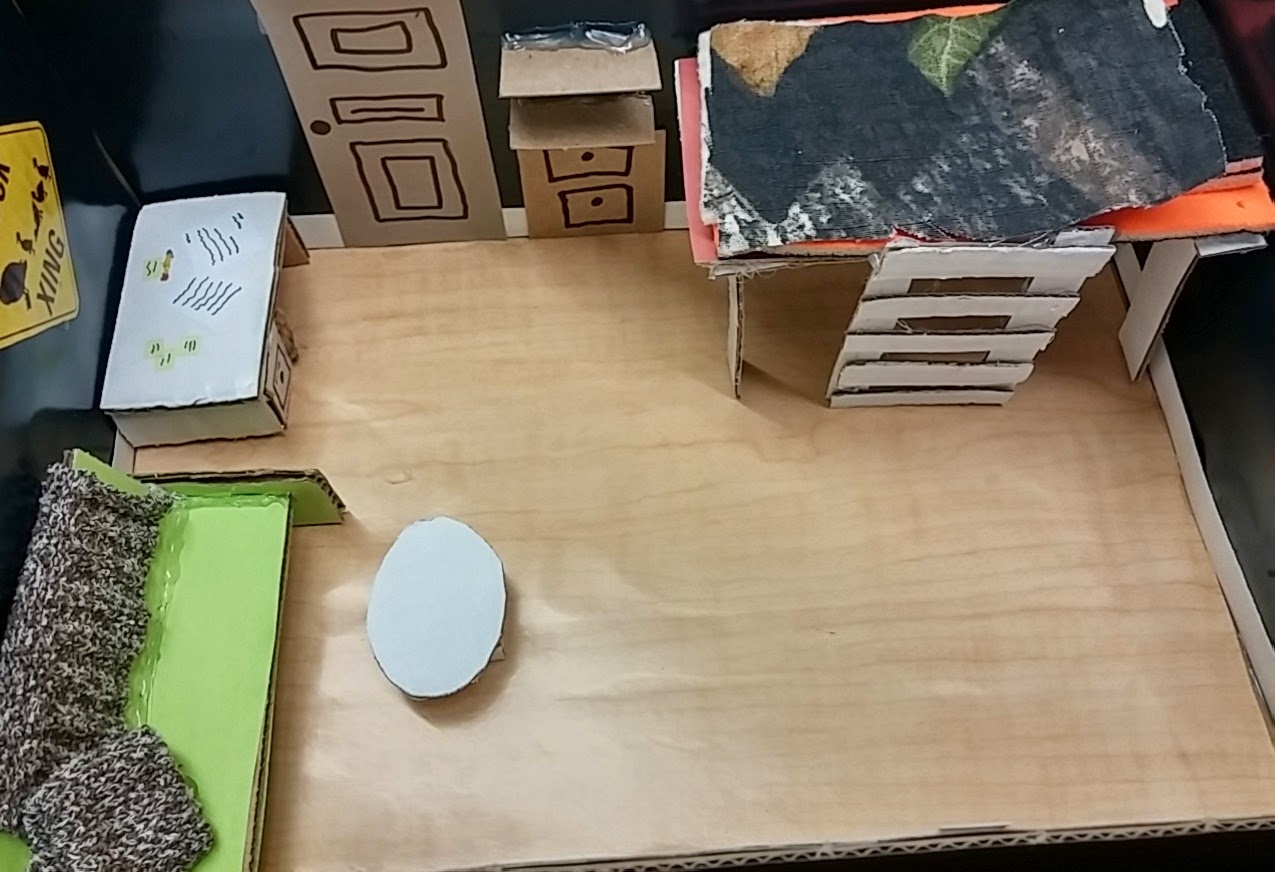
This project was a huge hit with 5th graders!  The creativity and problem solving involved in these bedroom design projects was exhilarating for the kids.  Over and over I heard that this was students' favorite project EVER! Many of the 4th grade kids have already begged to do this project next year.

Students were given the challenge of becoming an interior designer.  An interior designer is an artist who helps decide what a room will look like from the wall color to the cabinets and furniture.  Each year we learn about a variety of artist careers but this was the first time I decided to pull in interior design in a 3D way! This gave students a chance to exercise their spacial skills.

Here is a great student made video about the job of an interior designer!


Each child was challenged to use his or her creativity to choose colors and decorations for their room. The ultimate challenge was building furniture!  I bought 6 low temperature hot glue guns and the kids used them to build cardboard beds, chairs and tables.  (Side note: I was initially wary about using hot glue guns but the low temperature ones really don't burn like the high temperature ones do! I was surprised to find that 95% of my students had already used a hot glue gun elsewhere! I put craft sticks out with the glue guns so the kids could poke at the glue with the sticks when needed).


The assignment was to create a bedroom design, but some kids made a good case for creating other rooms such as kitchens and living rooms. One particularly creative idea was to create an RV bedroom!


A number of students were so thrilled with their assignments that they worked on items at home and brought extra supplies from home such as carpet, foam and fabric.  Nice work kids! It was fun to be a part of all the excitement!

This was a great project for collaborative learning.  Students spent time explaining to other students how to make things and helping find items of interest in home magazines. 

Learning Goals: I can...
- Explain what an interior designer does (as opposed to an architect or graphic designer)
- Create a model of a room
- Use a hot glue gun safely
- Build at least one piece of furniture my own way (using problem solving)
- Choose colors and accent pieces for my room that fit how I would like my dream room to be!
- Participate in a critique giving feedback to others and evaluating myself


Tuesday, April 16, 2013

Owl Babies

Kindergarteners learned about texture through our Owl Babies project.  We watched this awesome animated book called Owl Babies (here is a link) and noticed all the texture and highlights in the artwork.  Next we used sponge painting to create our textured branches and highlights.  We used marker caps to print the stars and then colored them in with a brush.  Finally, we added all the fluff (from an old pillow) and the details.

Learning Goals: I can...
- Explain what texture is and give examples
- Create a highlight
- Use a variety of new materials: sponge, marker caps and cotton.